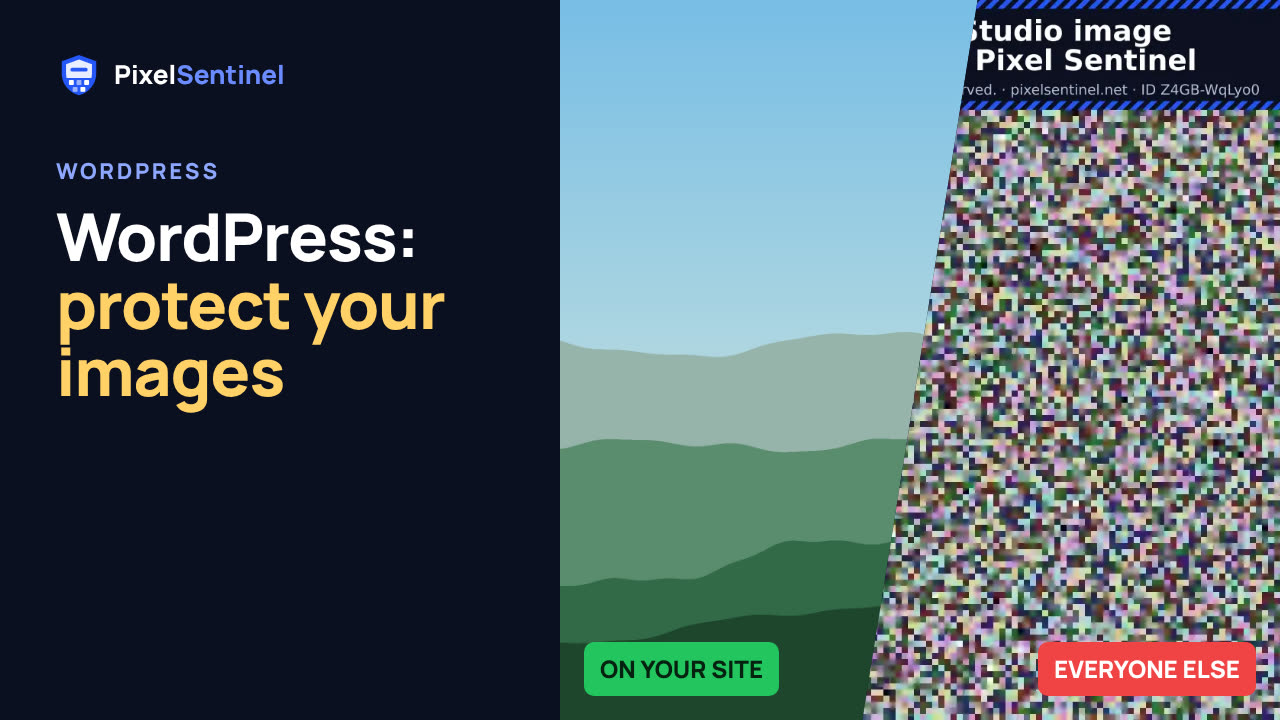
See it before you install anything
- The WordPress demo site: every picture on it is a Protected image block. Right-click one and save it, then open the file you saved.
- Try it in WordPress: a throwaway WordPress in your browser (WordPress Playground) with the plugin installed and connected to our demo account. Nothing to sign up for; it’s gone when you close the tab.
- The plugin on WordPress.org: the listing, with its own Live Preview.
Set it up in five minutes
- Install the plugin. In WordPress, go to Plugins → Add New Plugin, search for “Pixel Sentinel Image Protection”, then install and activate it.
- Create an account and upload your pictures. The 14-day trial is free and needs no card. Set your name and copyright notice in the dashboard: they go on every scrambled copy.
- Create an API client. In the dashboard’s API tab, click Create an API client, name it after your site and tick the permissions the plugin asks for. WordPress never needs your password.
- Connect and approve your site. Paste the client ID and secret into Settings → Pixel Sentinel, then click Approve if it says your site isn’t approved yet.
- Add a Protected image block to a page, pick a picture from your library and publish. The editor shows the scrambled copy; the published page shows the real picture.
Classic editor or a page builder? Use the shortcode instead: [pixelsentinel id="IMAGE_ID" alt="…"].
The step-by-step guide on the demo site has
screenshots of each step.
What the plugin does
- Adds the loader for you, only on pages that show a protected image.
- A Protected image block and a shortcode that pull pictures from your Pixel Sentinel library.
- Asks crawlers to leave your images alone: Adds
noimageindex,noaiandnoimageaito your pages (you can turn this off). Known AI crawlers get the scrambled copy whatever they do with the tags. - Checks your site is approved, with a button to approve it.
- Keeps common plugins out of the way: Jetpack’s Site Accelerator, WP Rocket, LiteSpeed Cache and Cloudflare Rocket Loader are told to leave the loader and your protected images alone.
What it can’t protect
- Pictures WordPress serves itself. The Media Library, featured images, WooCommerce product galleries and gallery plugins serve files straight from your site, so they don’t pass through Pixel Sentinel. Use Protected image blocks for the pictures that matter, and a safety check finds full-size originals still sitting in your media library.
- Screenshots. No website can block them. Large views carry an invisible watermark, so a screenshot can be traced to the site and day it came from.
- The full list is on what Pixel Sentinel can and can’t do.
What it costs
The plugin is free. It needs a Pixel Sentinel account: 14 days free with no card, then plans from $5 a month. You pay for real views of your images; scrambled copies, blocked attempts and bots are always free.