Pixel Sentinel setup: sign up, add your site and protect your first images
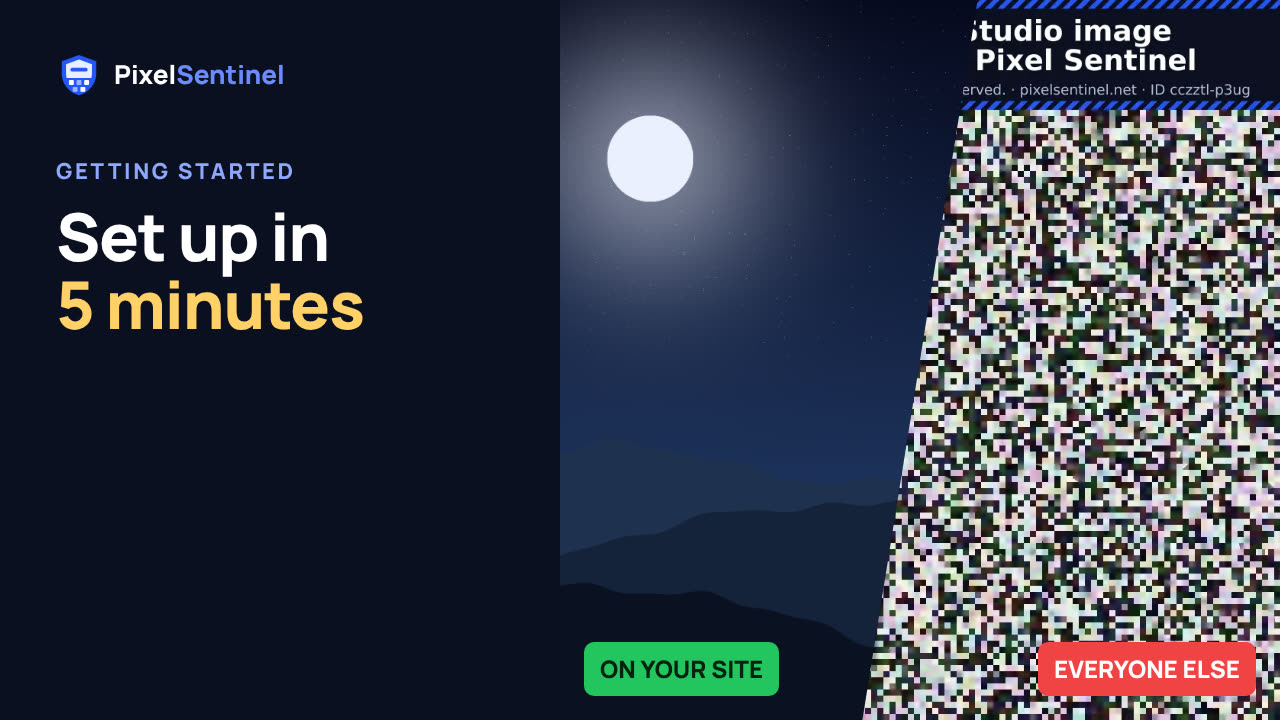
Narrated by an AI voice, with captions. Plays from YouTube when you press play. Watch on YouTube · More on our channel
A full walk-through of the Pixel Sentinel dashboard, from sign-up to your first protected images.
You'll set your name and copyright notice for the banner, list the websites allowed to show your real images, upload pictures, and see the three kinds of embed code, the buttons on each image, and the traffic report.
Transcript
0:03 Start your free trial
Here is how to set up Pixel Sentinel, from sign-up to your first protected image. On pixelsentinel.net, click Start my free trial. Every new account starts with a fourteen-day free trial, and no card is needed.
0:18 Sign up
You can sign up with Google, Microsoft or Facebook, or with an email address and a password.
0:26 Your scramble password
You also choose a scramble password. It is a second password, just for your images. You need it to unscramble a protected file yourself, and it can't be reset by email, so keep it somewhere safe.
0:39 Confirm your email
Click Create account. We email you a link to confirm your address. You need to confirm it before you upload.
0:46 Name and copyright notice
Start with the Organization tab. Enter your studio or website name, and your copyright notice. They appear in the banner across every scrambled copy, and in the copyright fields inside every image file. Click Save.
1:01 Approved domains
Next, the Your site tab. List the websites that are allowed to show your real images, one per line. To include every subdomain, put a star and a dot in front. Everywhere else gets the scrambled copy.
1:15 The loader
Below that is the loader. It is two lines for the head of your web pages. The next video shows where to paste them.
1:22 Upload images
Now open the Images tab, and drop your pictures in. JPEG, PNG, WebP, AVIF and TIFF files work, up to twenty-five megabytes each. Each picture is scrambled as it uploads, and only the scrambled copy is stored. We never store your original.
1:40 Script embed, plain img and image URL
Every image gets three kinds of code. The script embed is the strongest, and works with the loader. The plain image tag and the image URL are for places that don't allow scripts. They still stop other sites, image search and bots, but a visitor on your own page can save the real image.
1:59 Image buttons
The buttons on each row open the scrambled copy, download your full-size original or the protected file, create an expiring download link for a client, make a copy for social media, show the dated upload record, or delete the image.
2:15 Traffic
Once your site is live, the Traffic tab shows every request for your images: real views on your sites, scrambled copies that went somewhere else, real-image requests we refused, and downloads. Break it down by site to see who is showing your pictures. Here, a wallpaper site that copied them only got scrambled copies.
2:36 Usage and plans
Usage shows how many real-image views you have used this month. Scrambled copies, blocked attempts and bots never use views. When you are ready, pick a plan on the Plan tab. That's it. In the next video, we add the loader to a website and paste in the first image.
More videos
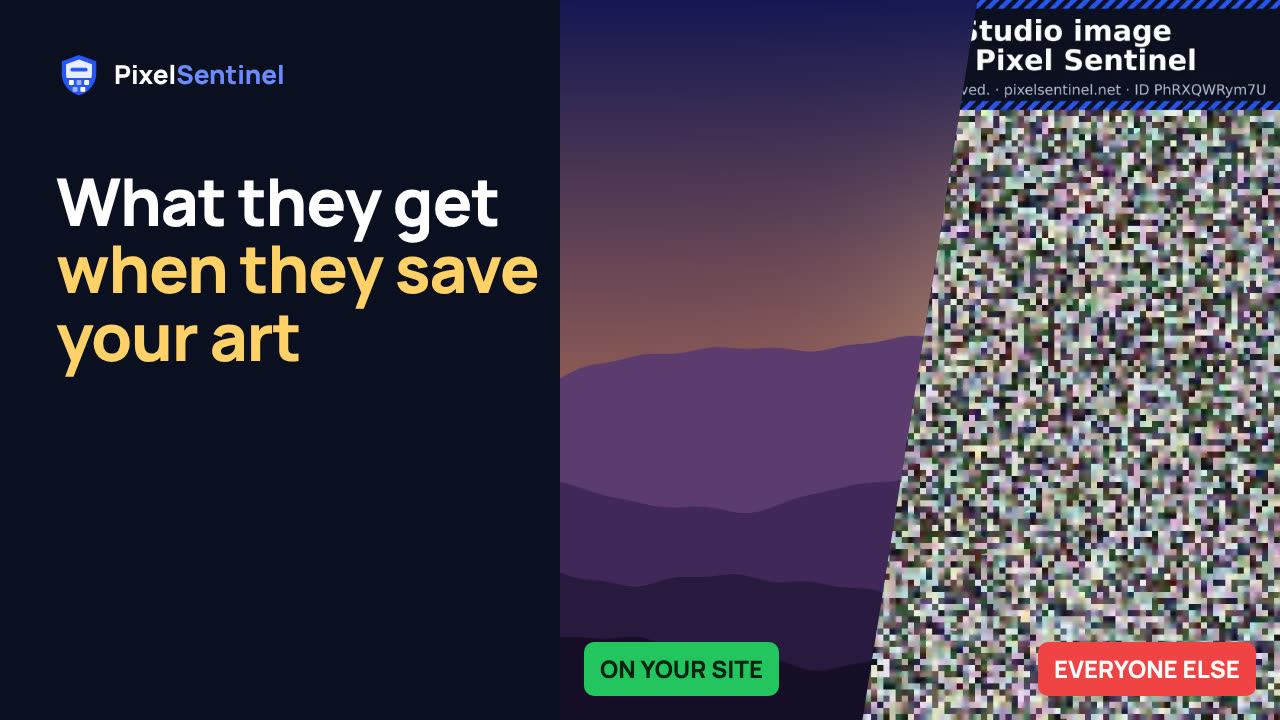 Stop people saving your images: Pixel Sentinel in 90 seconds1:27
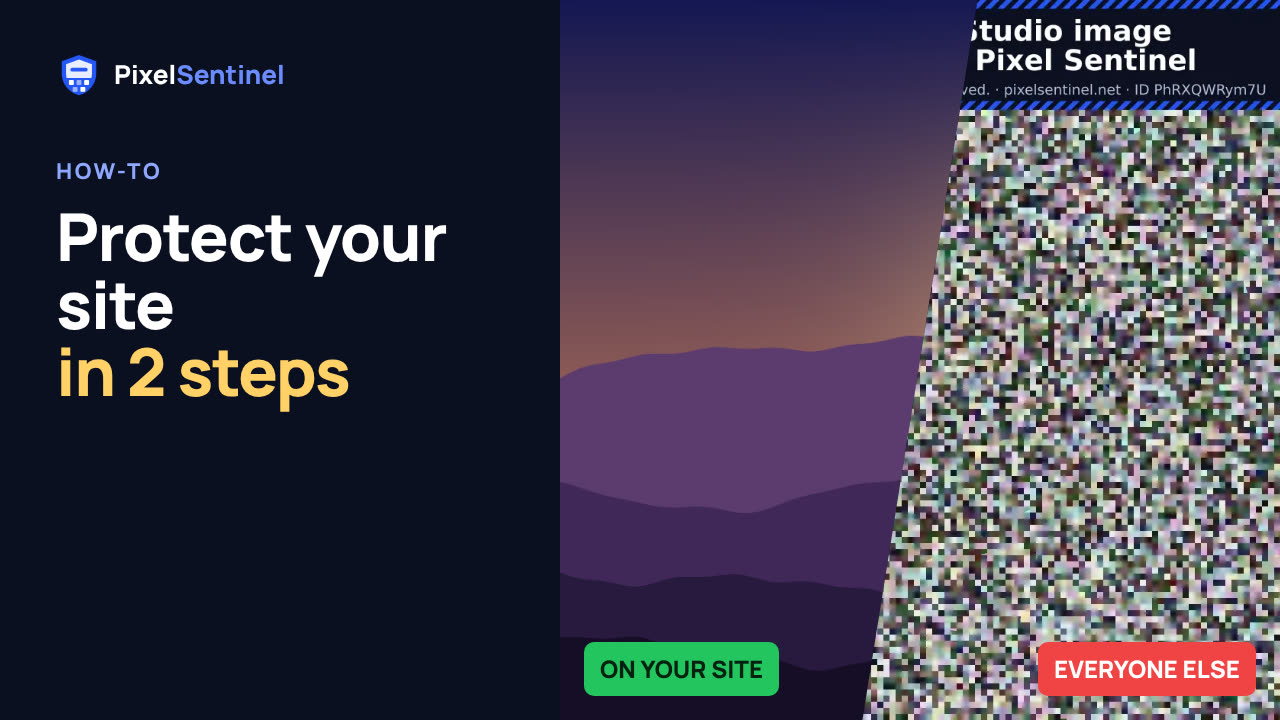 How to protect images on your website from download (2 lines of code)1:35
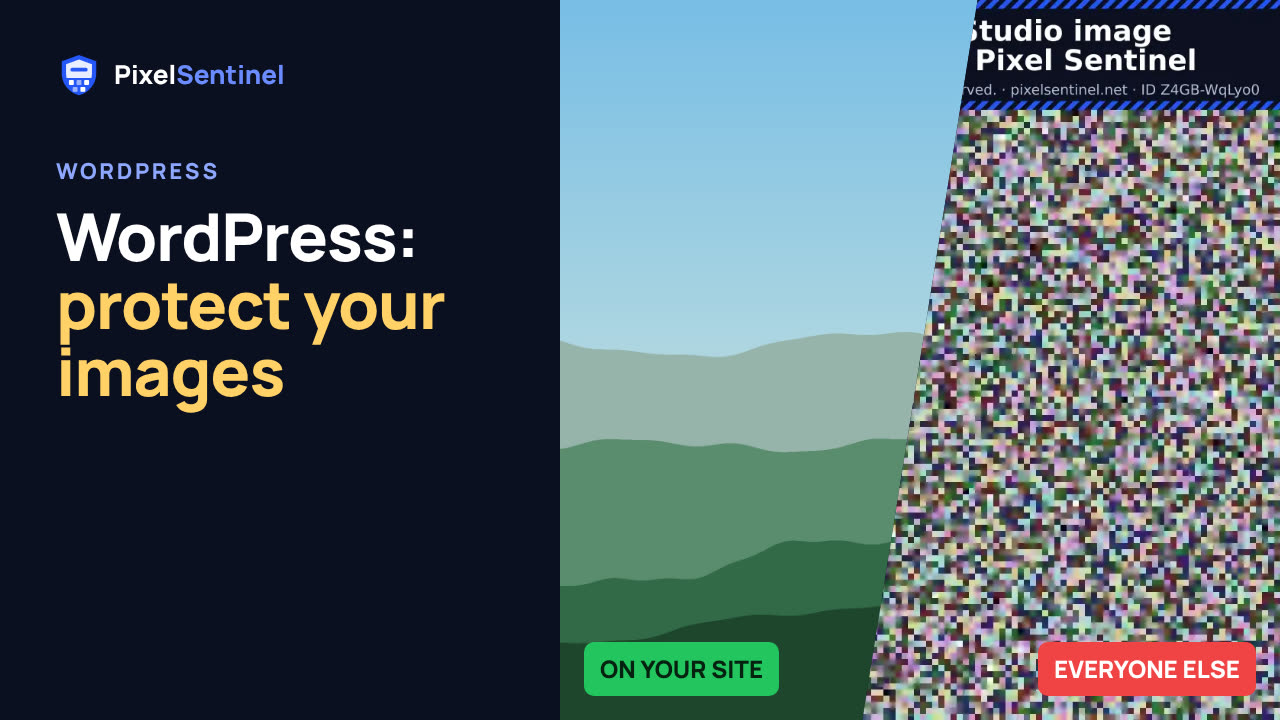 How to protect images on WordPress (Pixel Sentinel Image Protection plugin)2:13
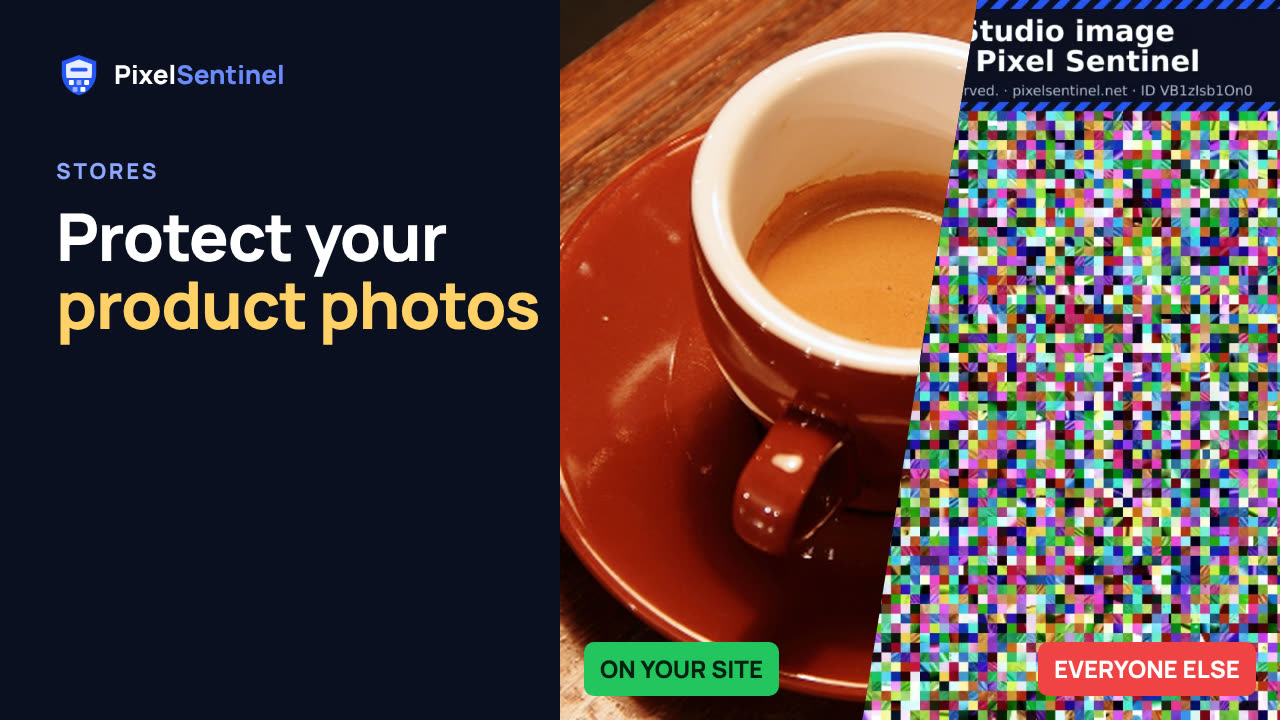 How to protect product photos on Shopify, Etsy, Amazon and eBay1:47
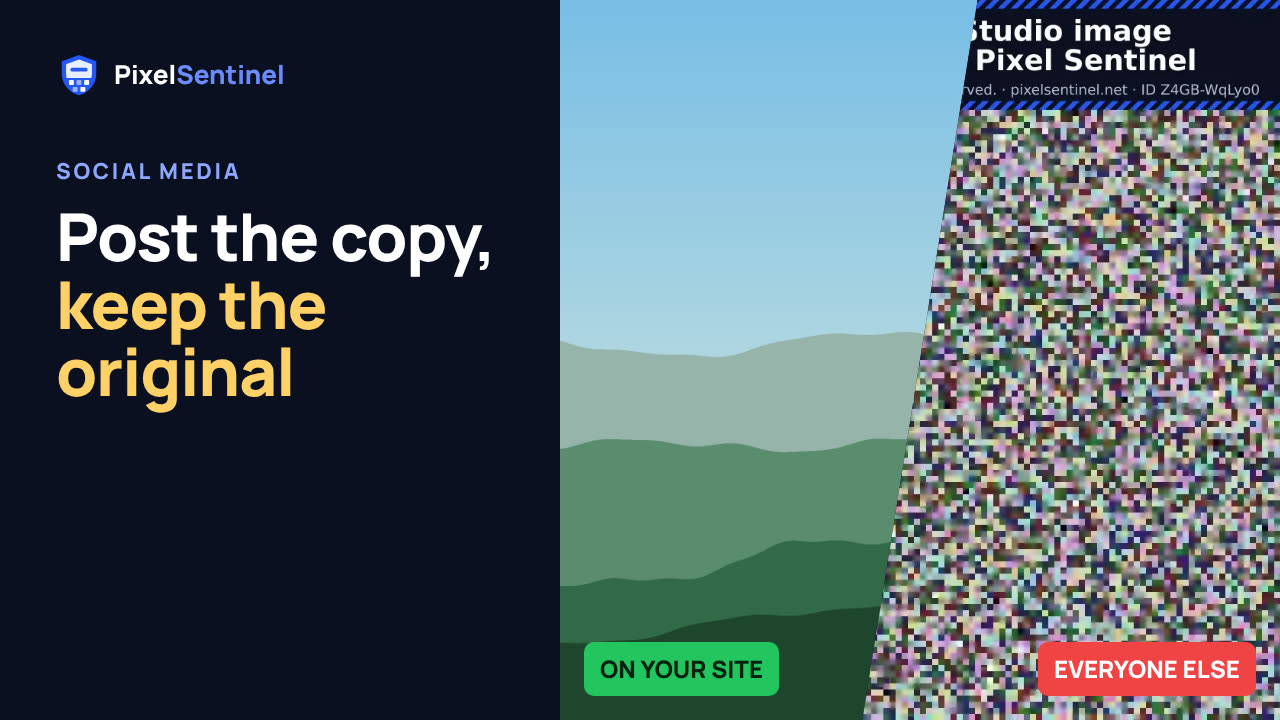 Post on Instagram, Facebook and Pinterest without giving away your original1:30
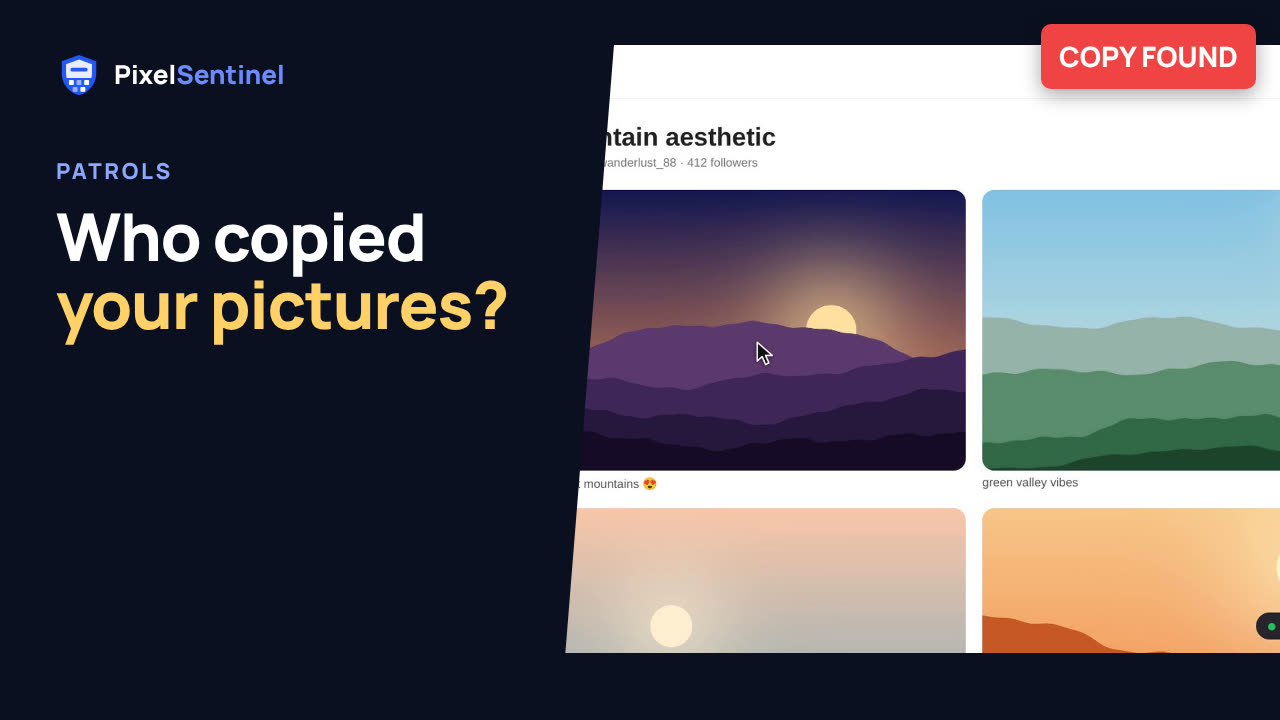 How to find copies of your photos and art on the web (Pixel Sentinel patrols)1:51
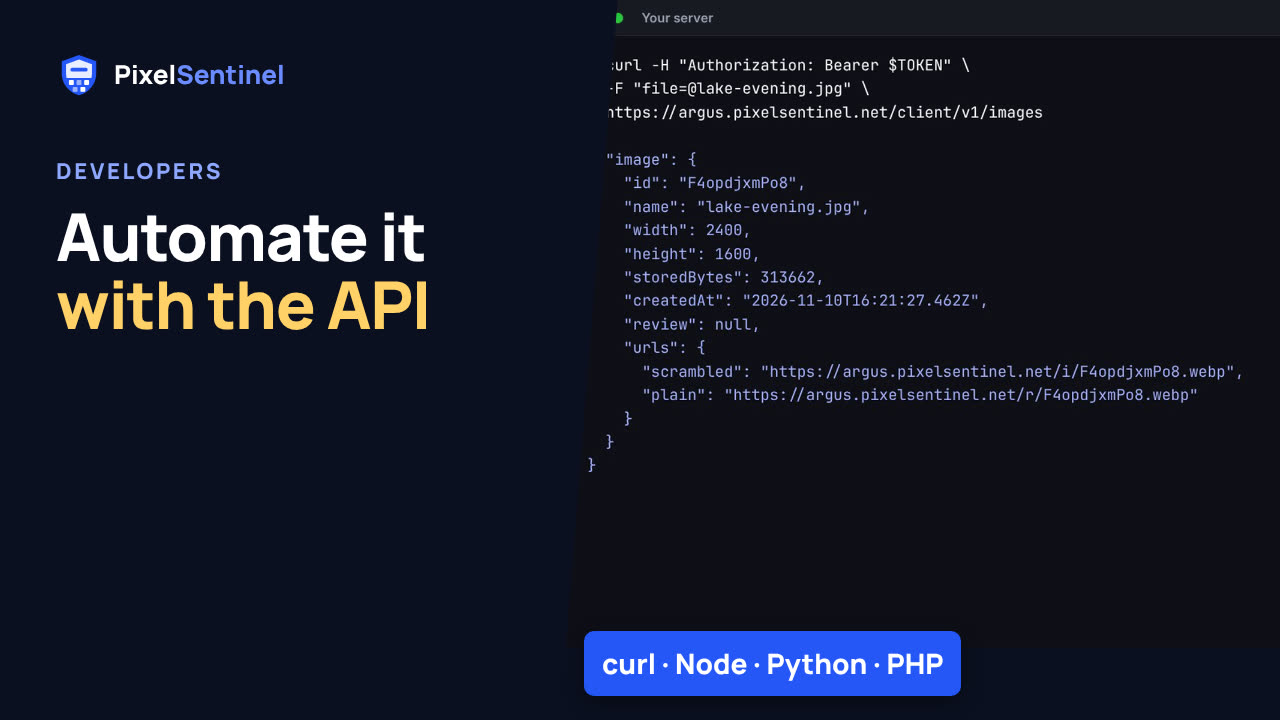 Pixel Sentinel API: upload images and send buyers download links from your server1:41
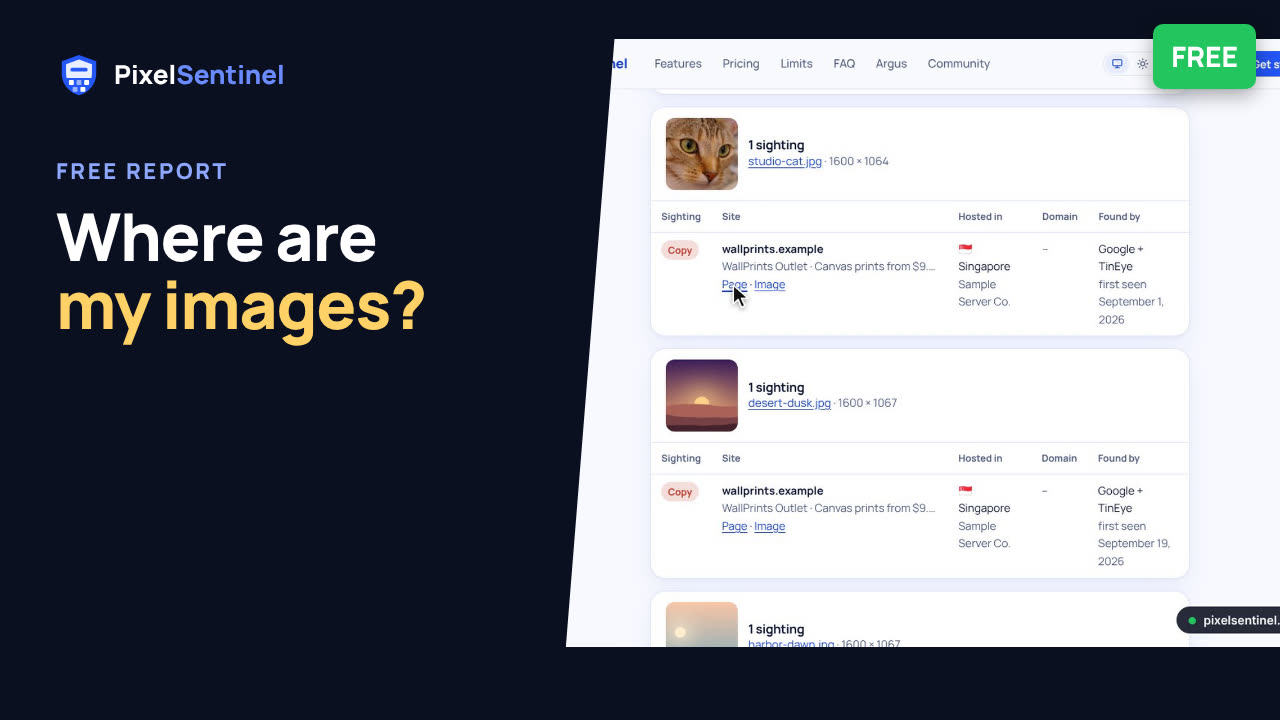 Where are my images? Free report finds copies of the pictures on your website2:07